Printing DTF Transfers
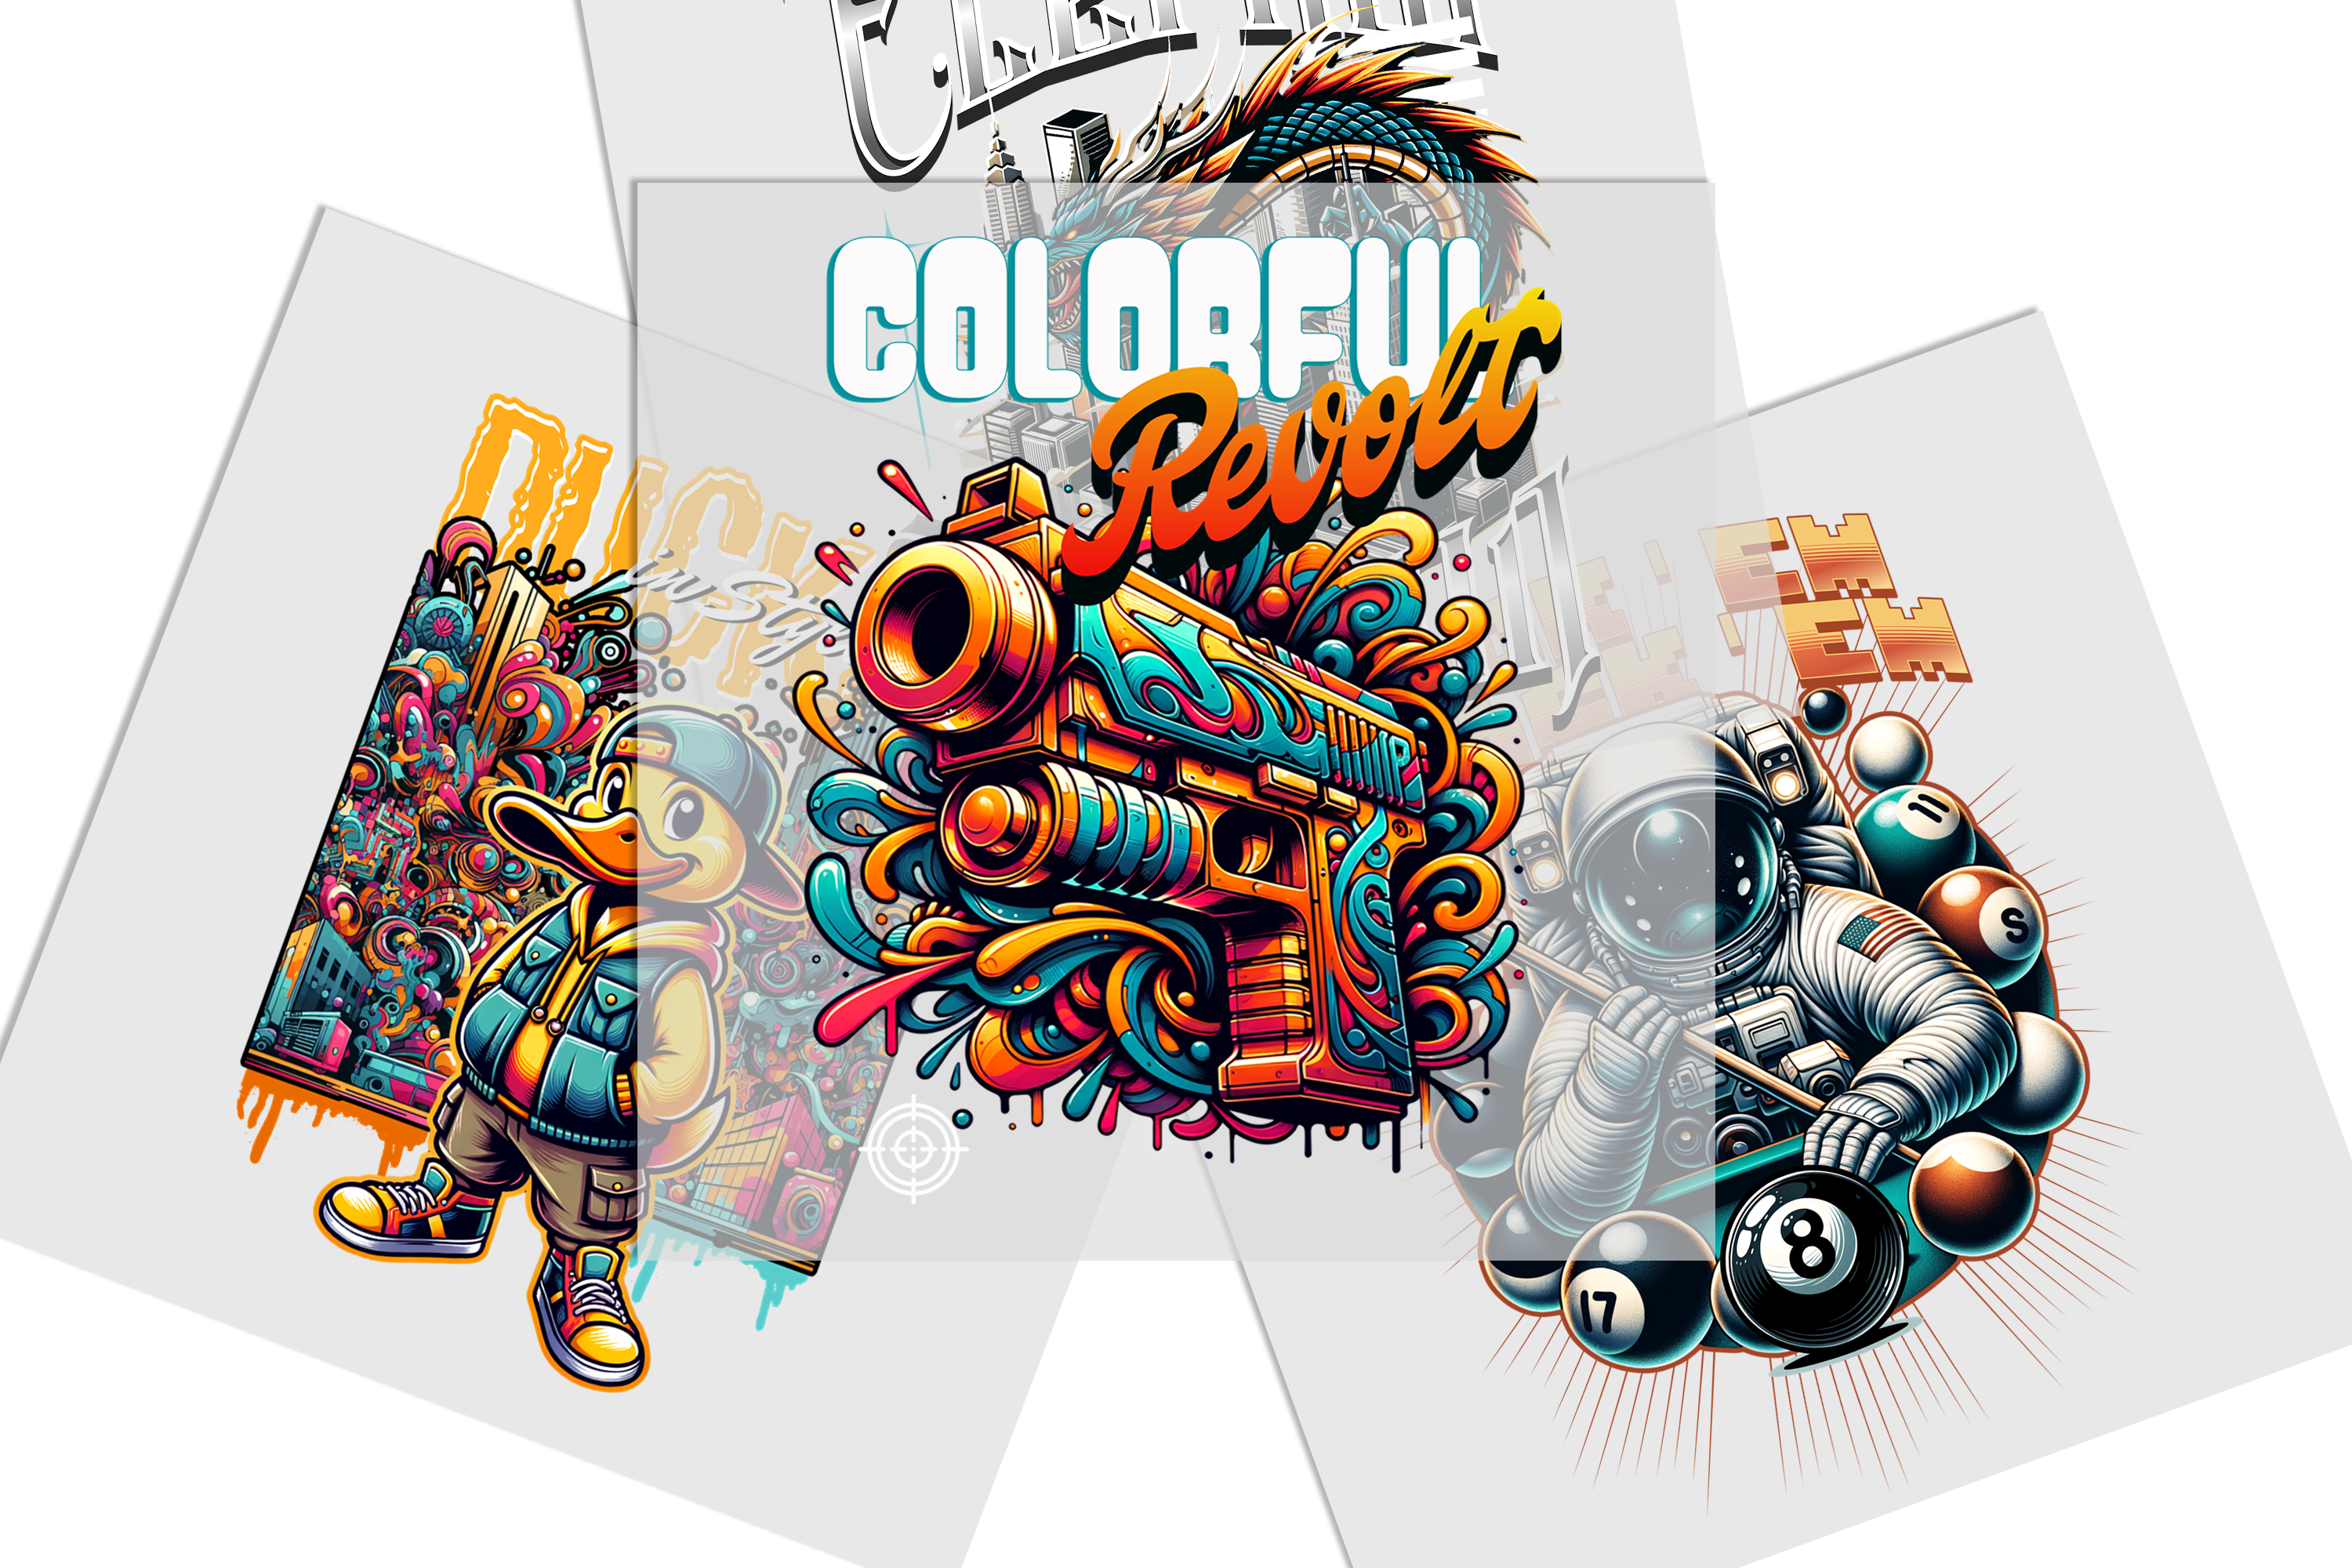

Printing DTF transfers involves more than sending artwork to a printer. The complete workflow connects artwork preparation, film printing, adhesive application, curing, transfer handling, garment selection, and heat-press application.
Before building an in-house production process, decide whether you actually need to print the transfers yourself or whether prepared DTF Transfers better match your apparel workflow.
What Does Printing DTF Transfers Involve?
Direct-to-Film production creates a transfer separately from the garment. The artwork is prepared on film, processed for application, and then transferred to compatible apparel using controlled heat and pressure.
This makes it useful to divide the process into two main parts:
- Transfer production: Preparing the artwork and creating the finished transfer.
- Garment application: Positioning and pressing the completed transfer onto the intended apparel item.
Some businesses manage both stages in-house. Others order prepared transfers and focus only on garment decoration.
Step 1: Prepare the Final Artwork
Every DTF production run should begin with one approved artwork file. If multiple design versions exist, identify the final file before printing begins.
Artwork Checklist
- Correct design version selected.
- Text and spelling reviewed.
- Final dimensions confirmed.
- Intended garment color considered.
- Placement selected.
- Required quantity counted.
This becomes especially important when several customer files, logo versions, or transfer sizes are being produced together.
Step 2: Print the Artwork to Transfer Film
In an in-house DTF workflow, the approved artwork is printed onto compatible transfer film using a DTF printer, appropriate inks, and the production settings required by that system.
This is the point where printing DTF transfers becomes different from ordering prepared transfers. You are responsible for printer operation, white-ink management, consumables, maintenance, software, and production quality control.
If you are evaluating an in-house printer setup, review Buy DTF Printer.
Step 3: Apply DTF Adhesive Powder
After printing, DTF adhesive powder is applied to the printed side of the film according to the production system.
The powder, ink, film, and curing process should be treated as compatible production components rather than unrelated supplies.
For current in-house production materials, review DTF Supplies.
Step 4: Complete the Curing Stage
Curing prepares the powdered transfer for later garment application. The exact process depends on the film, powder, ink, curing equipment, and production system being used.
Do not rely on one universal curing temperature or time. Follow the specifications associated with the actual materials and equipment.
Step 5: Inspect the Finished Transfer
Before moving the transfer into garment production, inspect it for visible issues.
Check:
- Artwork version.
- Transfer dimensions.
- White and color registration when applicable.
- Fine text and small details.
- Powder coverage.
- Film condition.
- Obvious contamination or damage.
Identifying a transfer-production problem before pressing is easier than discovering it after the garment has been decorated.
Step 6: Prepare the Garment
Once the transfer is ready, the garment becomes part of the production decision. Transfer size, garment size, color, construction, and placement should already be known before pressing.
If the project begins with a known transfer measurement, use DTF Transfers By Size as the individual-size ordering alternative.
Confirm Before Pressing
- Correct garment selected.
- Correct transfer matched to the garment.
- Placement confirmed.
- Artwork orientation checked.
- Seams, pockets, and raised areas reviewed.
- Application instructions confirmed.
Step 7: Apply the Transfer With a Heat Press
The final stage is heat-press application. Position the transfer on the intended decoration area and apply it according to the instructions associated with the specific transfer.
Temperature, time, pressure, and peel procedure should not be assumed to be identical across every transfer, garment, or production system.
Printing DTF Transfers In-House vs. Ordering Prepared Transfers
Producing transfers yourself gives you control over more stages of the workflow, but it also adds equipment, materials, maintenance, workspace, troubleshooting, and process-management responsibilities.
Ordering prepared transfers removes the printing, powdering, and curing stages from your internal workflow. In that model, you focus on artwork selection, garment choice, placement, transfer quantity, and heat-press application.
Review DTF Transfers Ready to Press Wholesale when comparing prepared transfers with an in-house production setup.
When Does In-House DTF Printing Make Sense?
Printing DTF transfers in-house may be worth evaluating when transfer production itself is an important part of your operation.
Before adding that responsibility, consider:
- How often transfers will be produced.
- How many designs are handled each week.
- Whether staff can manage printer operation and maintenance.
- How much workspace is available.
- Whether powdering and curing capacity match expected printer output.
- Whether repeat production justifies the additional workflow.
The decision should be based on real production needs rather than the assumption that every apparel business needs its own transfer-printing setup.
Use Gang Sheets for Multi-Design Production Planning
If several graphics, transfer sizes, or repeated designs need to be produced together, a sheet-based workflow can help organize the artwork before production.
Explore DTF Gang Sheets when multiple transfers need to be grouped within the same production plan.
Gang Sheet Planning Should Include:
- Every approved artwork version.
- Finished transfer dimensions.
- Number of copies required.
- Customer or order assignment.
- Intended garment or placement.
- How transfers will be separated and identified after production.
A well-organized layout makes a multi-design production batch easier to track.
Keep Printer Production and Garment Application Separate
One of the easiest planning mistakes is treating all DTF equipment as part of one unavoidable setup.
Transfer-production equipment and garment-application equipment serve different stages.
If you only want to apply prepared transfers, you do not need to manage the complete printer, ink, powder, curing, and maintenance workflow yourself.
White Ink Management Is Part of In-House Printing
White ink management is an operational consideration in DTF printing because pigment can settle when the system is not maintained according to the printer and ink instructions.
An in-house workflow may require:
- White-ink circulation or agitation checks.
- Nozzle checks.
- Capping-station maintenance.
- Wiper inspection.
- Approved cleaning materials.
- Printer-specific startup and shutdown procedures.
These maintenance responsibilities should be included in the decision to print transfers internally.
Printer Output Must Match Powdering and Curing Capacity
A DTF production line should be evaluated as a complete system.
A printer may become inefficient if the powdering or curing stage cannot keep up with the amount of film being printed. The same applies when transfer handling or garment pressing becomes the next bottleneck.
Review the realistic capacity of:
- Printing.
- Powder application.
- Curing.
- Transfer handling.
- Garment application.
Create a Repeatable DTF Production Record
For recurring designs, document the decisions that should remain consistent between orders.
- Approved artwork filename.
- Artwork version.
- Transfer dimensions.
- Quantity.
- Intended garment.
- Placement.
- Production method.
- Application instructions.
This reduces the risk of using an outdated file or changing dimensions unintentionally during a repeat order.
Avoid Mixing DTF and UV DTF Workflows
Standard DTF apparel production and UV DTF are different workflows.
Standard DTF is used for compatible textile applications and involves heat-press application.
UV DTF follows a different production and application process intended primarily for compatible hard surfaces.
Keep the equipment, supplies, ordering paths, and application instructions for these workflows separate.
Common In-House DTF Printing Mistakes
Printing Before Artwork Is Final
An incorrect logo, old file, or wrong transfer dimension can still be printed correctly. Approve the production file first.
Buying a Printer Without Planning Maintenance
Printer operation includes white ink, printhead, capping, cleaning, and shutdown procedures.
Ignoring Powder and Curing Capacity
The printer is only one stage of the production line.
Using Universal Production Settings
Printing, curing, and application settings should come from the specific materials and equipment being used.
Producing the Full Batch Before Testing
When artwork, materials, garment, or equipment settings are unfamiliar, test a controlled sample before scaling production.
Printing DTF Transfers Checklist
- Final artwork approved.
- Transfer dimensions confirmed.
- Quantity confirmed.
- Printer and RIP workflow prepared.
- Ink, film, and powder compatibility reviewed.
- White-ink system checked.
- Powder application planned.
- Curing process confirmed.
- Finished transfer inspected.
- Garment selected.
- Application instructions reviewed.
- Test completed when necessary.
- Repeat-order details documented.
Build the Printing Workflow Around the Final Product
A practical printing DTF transfers workflow starts with the finished apparel requirement and works backward.
- Approve the artwork.
- Confirm transfer size.
- Decide whether transfers will be produced in-house or ordered prepared.
- Choose the appropriate production format.
- Match transfers to the intended garments.
- Apply them according to the correct instructions.
For prepared transfers, explore DTF Transfers. For in-house production materials, review DTF Supplies. If you are evaluating printer ownership, review Buy DTF Printer.