DTF Transfer Ready To Press Near Me
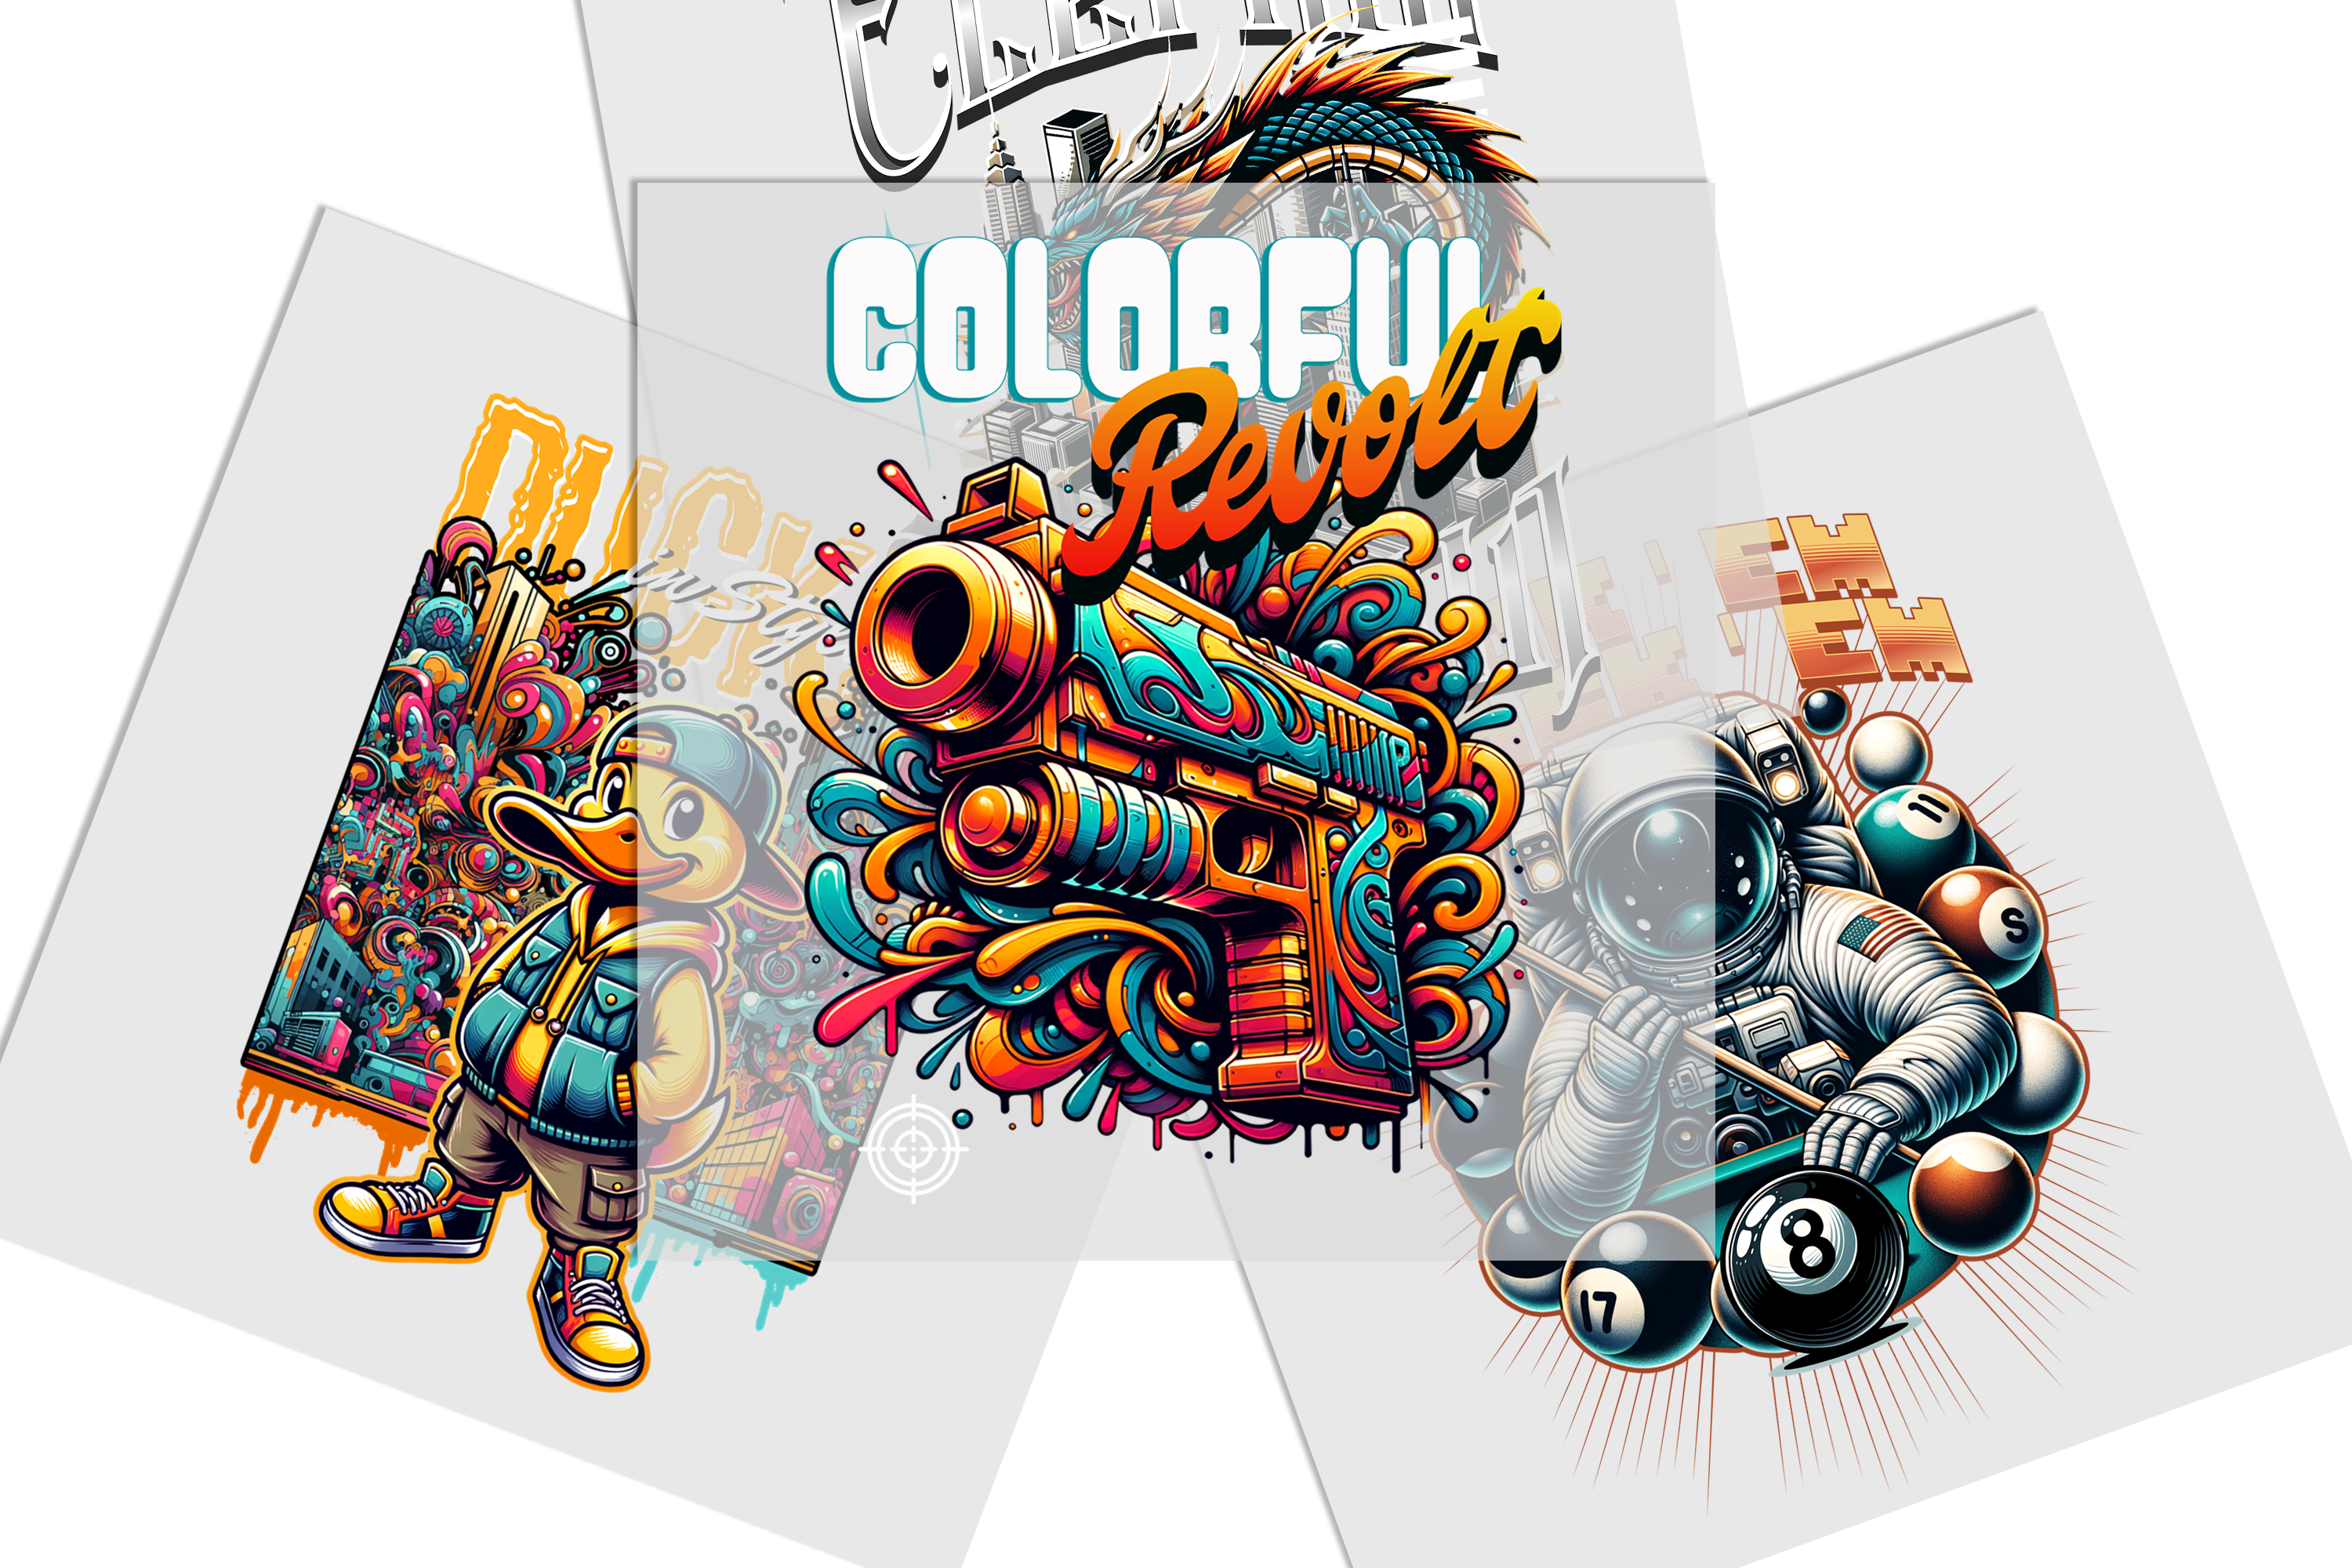


DTF transfers ready to press simplify the apparel decoration workflow by giving you a prepared transfer that can move directly to the application stage. Instead of producing the transfer yourself, you can focus on choosing the artwork, garment, transfer size, placement, and quantity required for your project.
Explore DTF transfers when you want to compare the broader transfer options available for custom apparel production.
What Is a Ready-to-Press DTF Transfer?
A ready-to-press DTF transfer is prepared for heat application to the intended garment. The transfer-production steps have already been completed, so your workflow centers on matching the correct transfer to the garment and applying it according to the instructions provided for that transfer.
This is different from producing DTF transfers yourself, where printing, film preparation, adhesive application, and other production steps must also be managed.
What Should You Decide Before Ordering?
Ready to press does not mean every production decision has already been made. You still need to determine what artwork you need and how it will be used.
Confirm These Details First
- Final artwork version
- Required transfer dimensions
- Number of copies
- Garment type and color
- Intended print placement
- Whether several designs need to be ordered together
Confirming these details before ordering creates a clearer path from artwork to finished apparel.
Choose the Right Transfer Size
Transfer dimensions should be based on the intended decoration area. A small chest design, larger front graphic, sleeve print, and back design may each require different dimensions.
If you already know the measurements required for the project, review DTF transfers by size and organize the order around the final artwork dimensions.
Simple Sizing Workflow
- Choose the garment.
- Select the intended print position.
- Measure the available decoration area.
- Set the artwork dimensions.
- Review the design at the intended size.
- Confirm the measurement before ordering.
This helps prevent transfer sizing from becoming a guess made independently of the garment.
Plan Multiple Transfers With a Gang Sheet
Some projects require more than one transfer. You may have several designs, multiple sizes, repeated logos, names, or different artwork versions for the same production batch.
In those situations, compare your individual transfer requirements with a DTF gang sheet workflow.
A Gang Sheet May Make Sense When:
- You need several copies of one design.
- You are preparing multiple graphics.
- You need different transfer dimensions.
- You are decorating several garments.
- You want to organize multiple transfers within one layout.
List every design, size, and quantity before deciding how the transfers should be ordered.
Custom Ready-to-Press DTF Transfers
Some projects start with artwork you already own rather than a pre-existing design. In that case, the artwork file becomes an important part of the order.
For artwork-specific projects, explore custom DTF transfers ready to press and prepare the final design before moving into production.
Artwork Check Before Ordering
- Use the final approved design version.
- Check names and text for spelling.
- Confirm the intended dimensions.
- Match each design to the correct garment or placement.
- Count the required copies of each version.
This becomes especially important when one order contains several customer designs, names, sizes, or artwork variations.
Ready-to-Press Transfers for T-Shirts
T-shirt projects should be planned around both the transfer and the shirt. Garment color, size range, print location, and available decoration area can affect the final transfer decision.
If you still need the garment, review blank T-shirts before finalizing transfer dimensions.
Choosing the garment first makes it easier to determine how large the design should be and where it should appear.
How to Organize the Pressing Workflow
Once the transfer and garment are ready, confirm that the artwork, size, and placement match the production plan before pressing.
- Match the correct transfer to the garment.
- Confirm the intended placement.
- Review the application instructions for the transfer.
- Apply the transfer using the specified pressing procedure.
- Follow the specified peel procedure.
Temperature, pressure, pressing time, and peel instructions should come from the instructions for the transfer being used rather than from a universal setting.
Ready to Press Does Not Mean Ready to Guess
The main advantage of a prepared transfer workflow is that you do not need to manage the complete transfer-production process yourself. However, artwork selection, dimensions, garment choice, placement, quantity, and application still need to be planned correctly.
A simple pre-production checklist can keep those decisions organized:
- Artwork approved
- Transfer dimensions confirmed
- Garment selected
- Placement selected
- Quantity counted
- Application instructions reviewed
Choose the Ready-to-Press Format That Fits the Project
The right DTF transfer ready to press workflow depends on what you are producing. A single custom shirt, several personalized garments, and a batch containing multiple graphics can require different ordering approaches.
Start with the finished apparel requirement and work backward. Confirm the garment, artwork, dimensions, placement, and quantity before selecting the transfer format.
This creates a more organized route from digital artwork to a transfer that is prepared for the heat-press stage.