Designer DTF Transfers


Designer DTF Transfers: A Complete Guide to Custom Apparel Design
If you're a designer looking to explore designer DTF transfers, you're in the right place! DTF (Direct-to-Film) transfers offer an incredible way to create vibrant, detailed designs for a variety of custom apparel. This printing method is gaining traction among designers due to its high-quality results, ease of use, and versatility. Whether you're a business owner, a DIY enthusiast, or a designer wanting to offer something unique, DTF transfers will take your designs to the next level. 🎨
In this guide, we'll explore everything you need to know about DTF transfer designs, from how to design them to the best ways to apply them to shirts, hoodies, and other fabrics. Plus, we'll also introduce you to some helpful resources to get started. Let's dive in! 🚀
What Are Designer DTF Transfers?
DTF transfer designs are created using a special printing process that involves printing high-quality designs onto a film. These designs are then transferred onto fabric through a heat press. Unlike traditional methods like screen printing, DTF allows for full-color, intricate designs to be transferred onto a variety of fabrics, including cotton, polyester, and blends. This flexibility makes it ideal for custom apparel, such as T-shirts, hoodies, and tote bags.
For more information about DTF printing, check out the Wikipedia page.
How to Design DTF Transfers: Key Steps for Designers
Creating stunning DTF transfer designs isn’t just about choosing a pretty image; it's about understanding the nuances of the process to ensure that the design transfers correctly and lasts. Here's how to design DTF transfers:
1. Choose Your Design Software
The first step to creating a DTF transfer design is to select the right design software. Some of the most popular options include:
-
Adobe Illustrator – A powerful vector-based program that’s perfect for creating crisp, scalable designs.
-
CorelDRAW – Another vector-based software that's commonly used in the printing industry.
-
Photoshop – Ideal for raster designs or those that need a more detailed, photographic quality.
2. Create or Import Your Design
Once you’ve chosen your software, it’s time to create or import your design. If you’re using a pre-made design, ensure that the resolution is high enough (300 DPI is ideal). For custom designs, use vector graphics for scalability without losing quality.
3. Prepare the Design for Printing
For DTF printing, the design must be prepared properly before it can be transferred onto the film. This means:
-
Mirroring the design: The design should be flipped horizontally (mirrored) before printing so it appears correctly on the fabric once transferred.
-
Choosing the right colors: Ensure that you use CMYK color mode (Cyan, Magenta, Yellow, and Key/Black) for printing. This color model is ideal for full-color designs.
-
Setting up layers: If your design has multiple colors, separate them into layers to make the application process easier.
4. Print the Design onto the Film
Once your design is ready, it’s time to print it. You'll need a DTF printer for this step, which is specifically designed to print onto special transfer films. Be sure to follow the manufacturer's instructions for your specific printer to ensure optimal results.
5. Apply Transfer Powder
After the design is printed on the film, apply DTF transfer powder to the wet ink. This step is crucial because it helps the ink bond with the fabric during the heat pressing process. Use a powder shaker for even distribution, then cure the film to solidify the powder and ink.
6. Cut the Design
Once the transfer powder has been applied and cured, cut the design from the film. Make sure to leave a small margin around the edges of the design to avoid cutting into the artwork.
Benefits of Designer DTF Transfers
There are several advantages to using designer DTF transfers for your custom apparel designs:
-
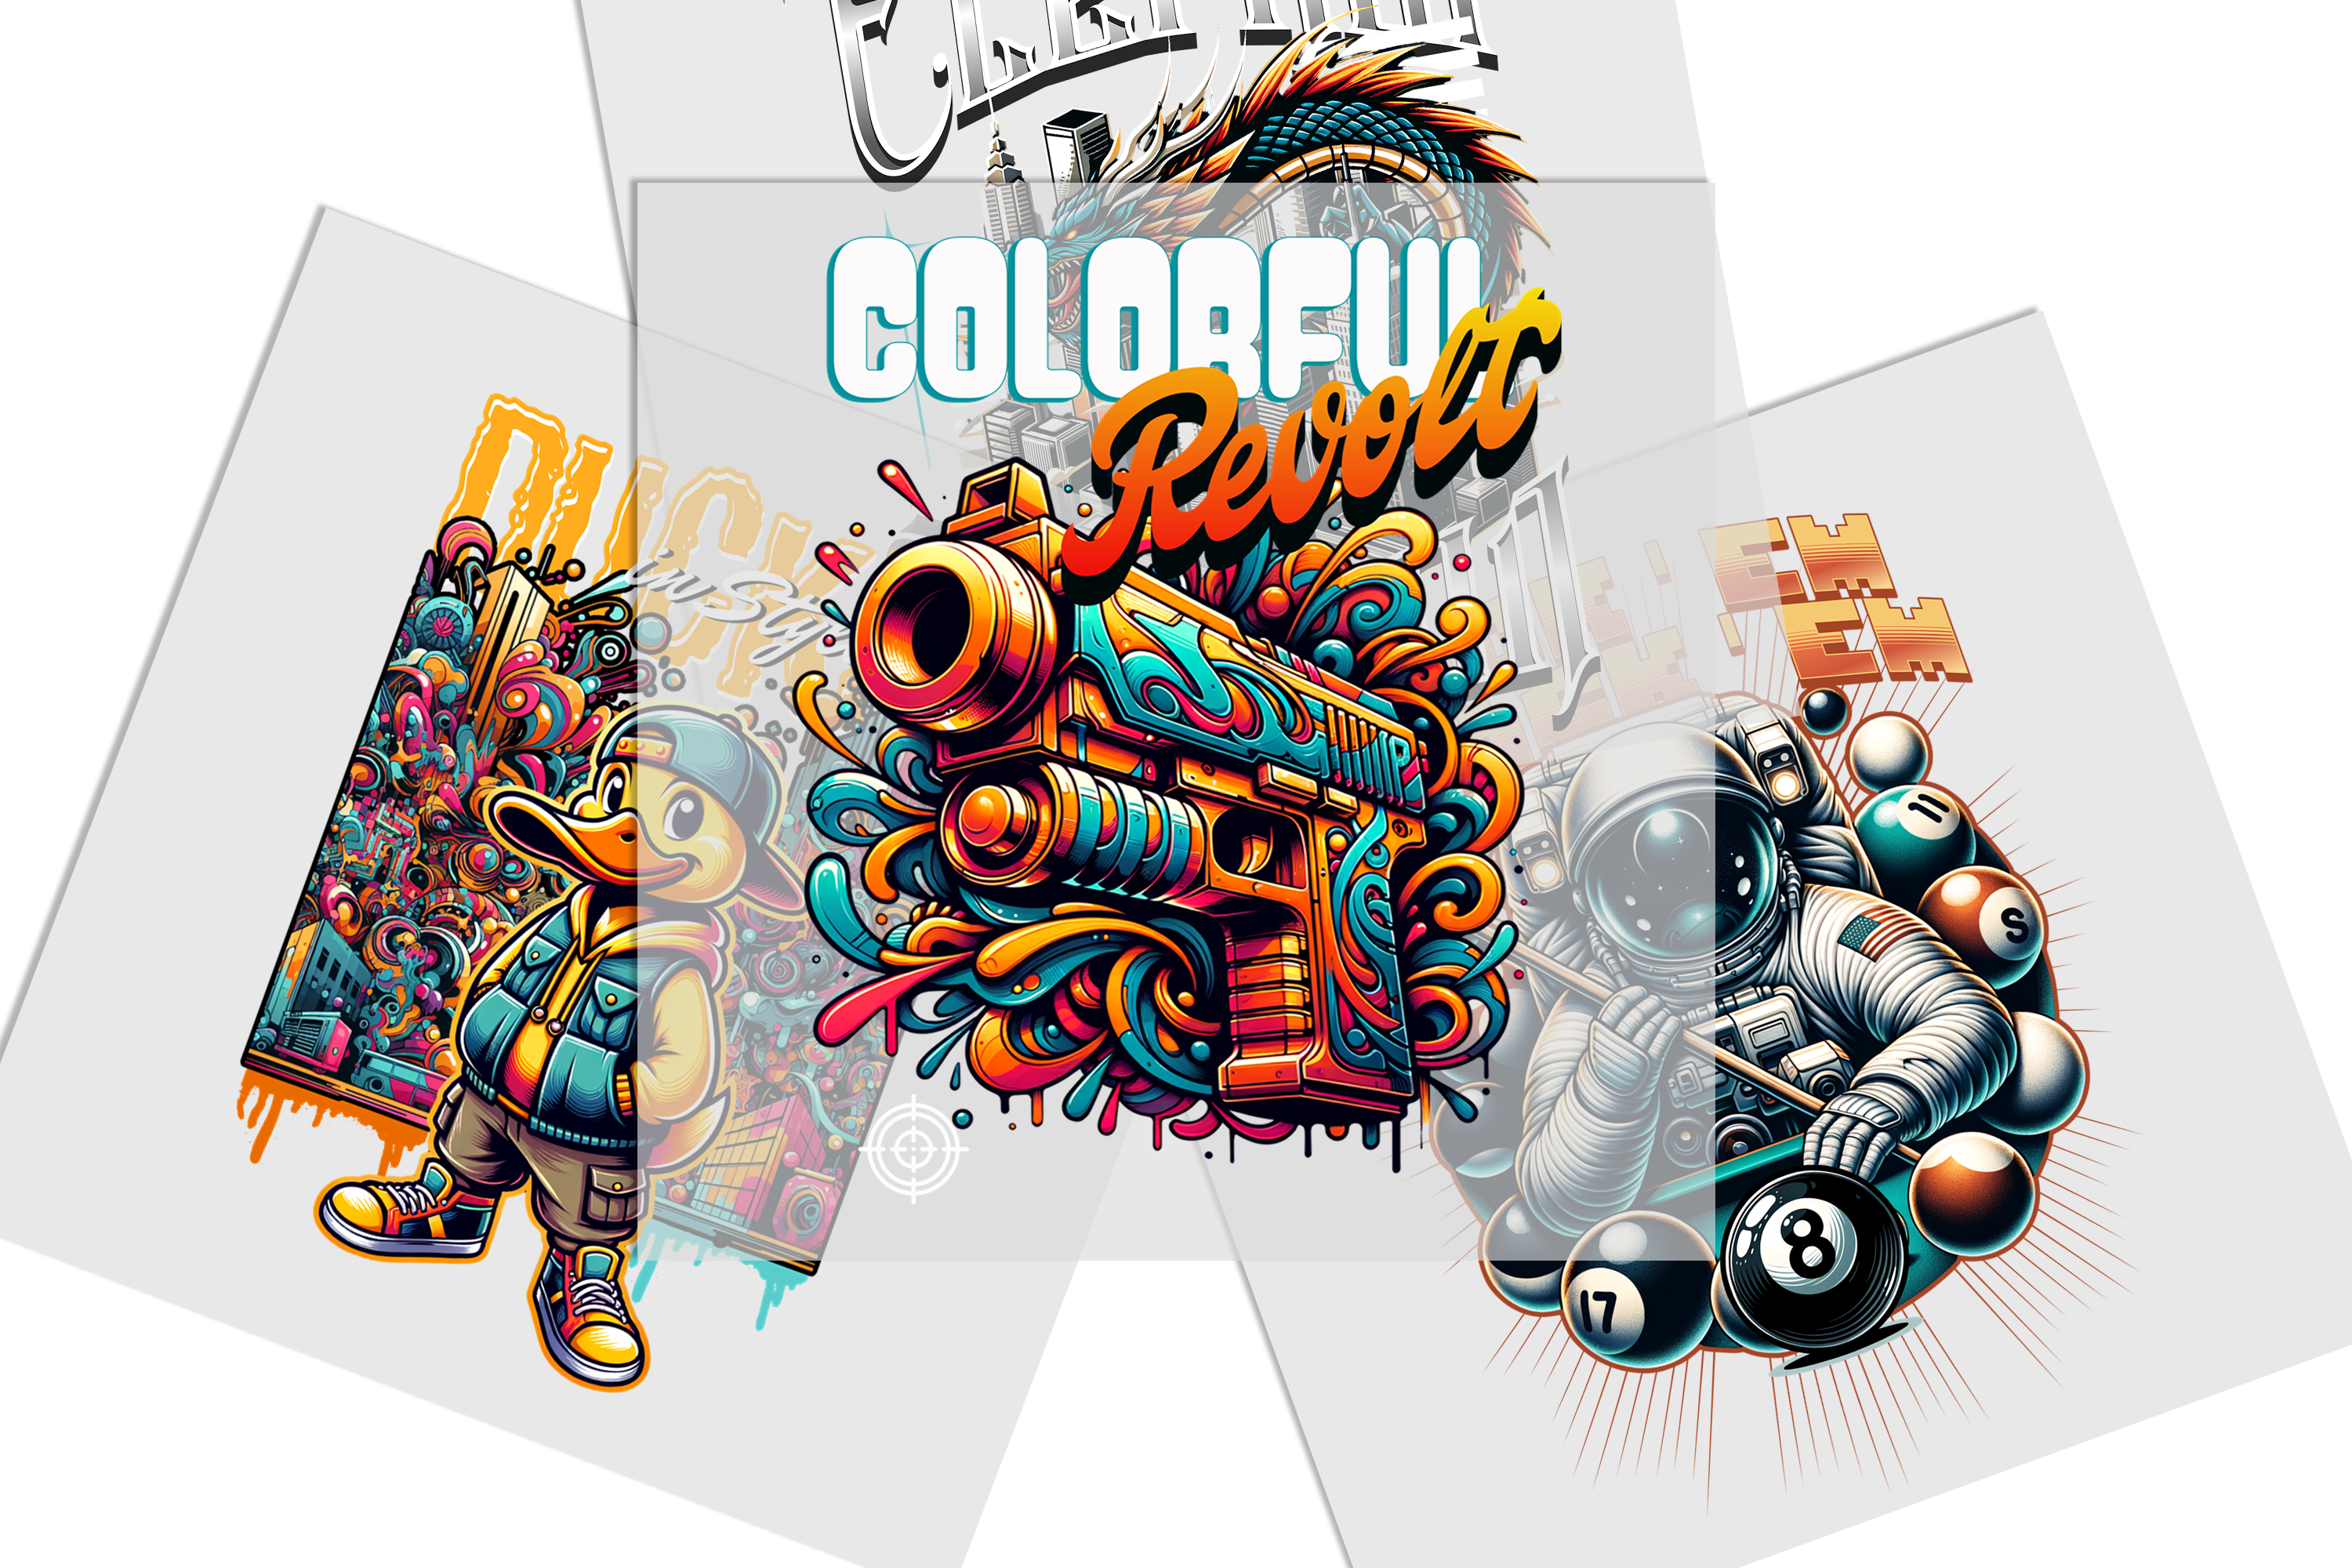
Vibrant, Full-Color Designs: DTF printing allows you to create detailed, colorful designs that really pop.
-
Durability: DTF transfers are highly durable and resistant to fading, cracking, and peeling, making them perfect for long-lasting designs.
-
Versatility: Works on a variety of fabrics, from cotton and polyester to blends, making it ideal for a wide range of apparel.
-
Cost-Effective: DTF transfers are an affordable alternative to other printing methods like screen printing, especially for small runs or custom orders.
Where to Find DTF Transfer Designs
If you're a designer or a business owner looking to buy pre-made DTF transfer designs, check out websites like Chili Transfers for a wide selection of high-quality transfers. They offer a variety of designs suitable for different custom apparel needs, helping you get started quickly without the need for in-house design creation.
Conclusion
Designer DTF transfer offer a fantastic way to bring your creative designs to life on apparel. With vibrant colors, durability, and versatility, DTF transfers are quickly becoming the go-to method for custom clothing. By following the steps outlined in this guide, you can create stunning designs and apply them to shirts, hoodies, and other fabrics with ease. 🎨👕
Whether you're a professional designer or someone just starting out, DTF printing provides the tools you need to create high-quality, custom apparel. Be sure to explore platforms like Chili Transfers to find the perfect designs for your projects!